I was looking back at some older images of mine and thought I would share them here for some other beginners. With patience, practice, and lots of reading and experimentation from the bevy of tutorials available on the web today, it is possible to improve rapidly with the wealth of information that is available to us. I am still nowhere near where I want to be, but it is still nice to look back and see the improvement I have made.
This picture of the Leo Triplet was taken in May 2012 with my Canon T3 and Astro Tech AT8IN. When I first started out I was using the camera more like video assisted observing. I think this is a 2 minute single exposure.
Here is another one of my first images. M81 & M82 from August 1st, 2012
Towards the end of 2012/Beginning of 2013 I started trying to take a lot of single exposures and tried stacking them in an attempt to increase the signal and drive down the noise. I had a ton to learn but was immediately hooked.
On March 2nd, 2013 I tried M81/82 again and produced this image with the same AT8IN telescope and Canon T3 camera. This image is just shy of 3 hours total with 34 subs of 5 minutes each. It required the purchase of an autoguider and a coma corrector to clear up the awful coma inherent with f/4 newtonian telescopes.

For a comparison of the Leo Triplet image, this one was done later that month on March 31st, 2013. It is 2 1/2 hours of integration with 30 subs of 5 minutes each.

Obvious issues with these images include tracking/guiding issues with elongated stars as well as other problems, but still quite a dramatic improvement from the previous attempts.
After going through the Summer of 2013 with my DSLR, I told myself I would not deal with that again. The noise caused from 30+ degrees C of the cameras sensor rendered several images as trash. I had to get a cooled CCD camera and began saving my money to do just that. About a year after taking these images, in March 2014, I got my SBIG STF-8300M camera and Starlight Xpress 7 position filter wheel. Shortly after that I got the Astrodon 5nm hydrogen alpha filter and the Astrodon Gen 2 E-series LRGB filters. This began another learning phase.
In January this year I attempted the Leo Triplet again with the CCD camera and my new Teleskop Service 107mm f/6.5 triplet apo refractor. I think the image came out much better and careful processing revealed several smaller galaxies in the background. The full size image can be seen here.

The newest M81-M82 image reveals dust in the area called the Integrated Flux Nebula or IFN for short, as well as the satellite galaxy to M81 called Holmberg IX. It is the small blue patch just below M81. This one was done over the nights of Feb 7th, 8th, 9th, and 10th of this year. Full size image can be seen here.

These newest ones are certainly far from perfect and have issues of their own, but it is gratifying to see the improvement. In fact, sometimes seeing this improvement is needed to keep me going forward. Astrophotography is certainly not the easiest hobby to become good at. With so many things needed to come together to produce a good image it can become frustrating at times. The good thing is there are a lot of tutorials available to help us continue improving. The main thing in any hobby is it is supposed to be fun. When frustration sets in, look back at some of your first images and see how much you have improved.
Acquiring Flats
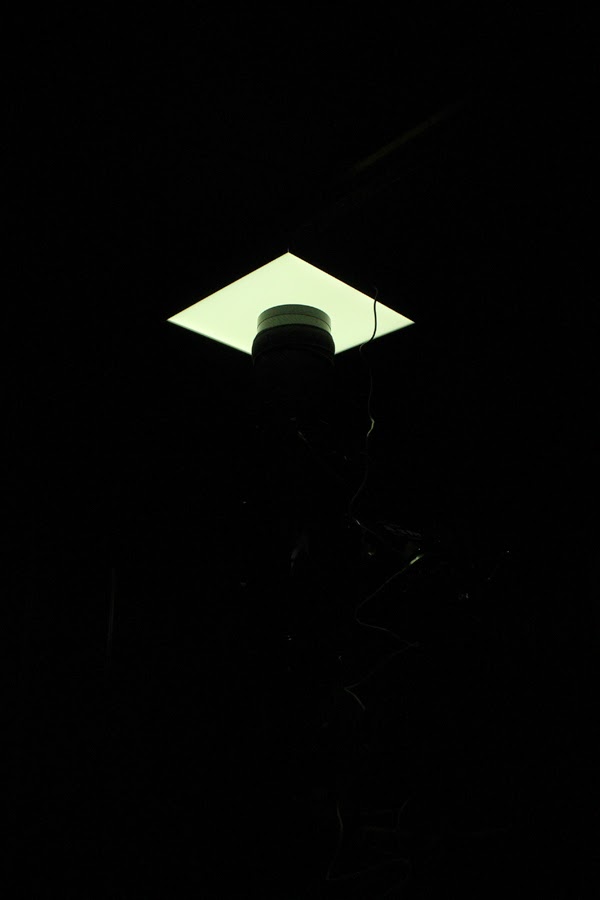
Flat fields is a calibration frame used to clean up any dust motes you might have on your sensor or filters, and eliminate vignetting. When I was using the DSLR is was easy getting flats just after the Sun set by using the camera set in A/V mode and pointing the scope/camera at the sky. In A/V mode the camera would self adjust the exposure to get the histogram in the correct place or proper flats. It has been a bit more difficult since getting my CCD camera. I have been covering the end of the scope with a white trash bag or t-shirt and placing a light blub around the front of the scope with the scope pointing toward the observatory roof. The light doesnt always provide even illumination and it has been a hassle getting the trash bag or t-shirt flat over the end of the scope. I finally broke down and purchased the Spike-a Flat Fielder. This has been a wonderful addition.

At $250 shipped I thought it was expensive, but it is quite nice. The light box is big enough for scopes up to 12" (light box is 14"X14") and comes with both AC and DC power supplies, as well as a pair of wireless dimmer switches.

Its very easy to use and together with Sequence Generator Pro's Flats Calibration Wizard, obtaining proper flat frames is now quick and easy. I would recommend this to anyone looking for an easy way to take their flat frames.

Happy imaging from LPO!
No comments:
Post a Comment